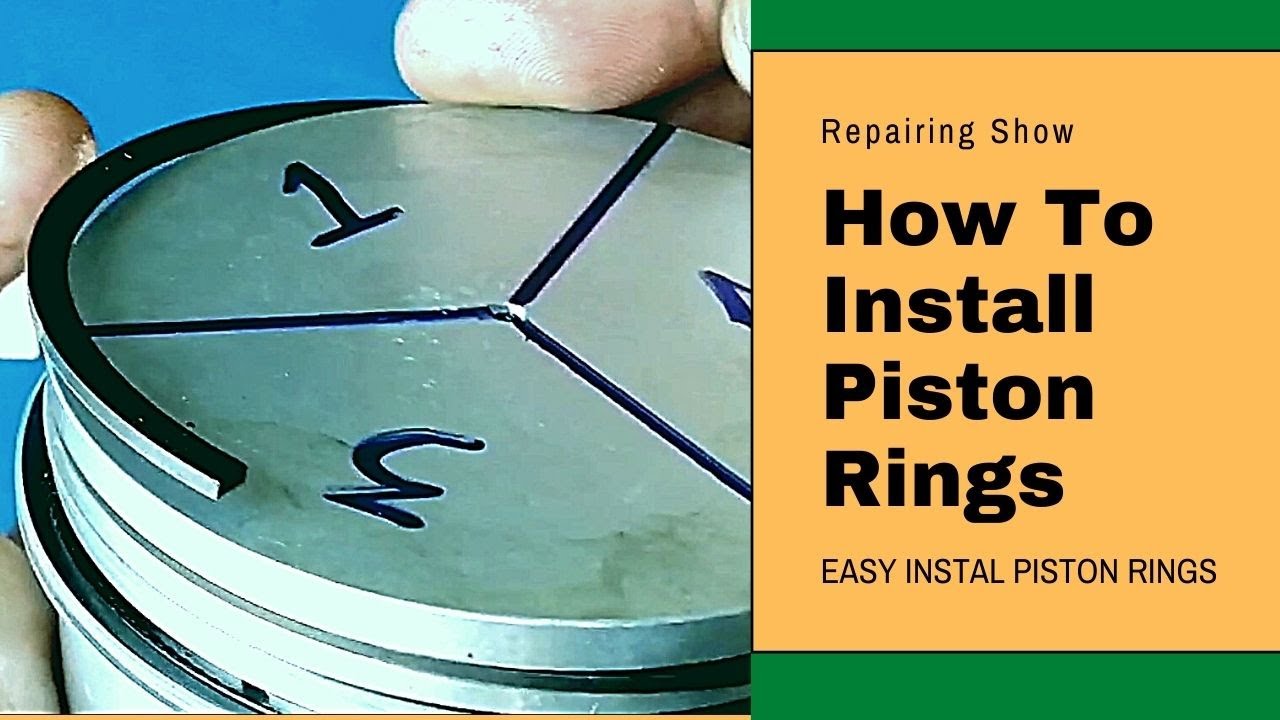
Piston Ring assembly Steps
1. Before installation, inspect the piston and rings for cracks or damage, and ensure that the piston ring grooves are thoroughly cleaned.
2. Use the appropriate installation tools: A special machine or tool is used to compress the piston rings as they are inserted into the cylinder to prevent scratching or bending the pistons or cylinder walls.
3. Install the piston rings correctly in their grooves: Each ring must be installed in its designated location, with each type (compression ring or oil ring) occupying a specific groove on the piston. Care must be taken to position the ring so that the marks (if present) point upward.
4. Install the oil ring assembly: Install it first, ensuring the gaps are evenly distributed to reduce the possibility of leakage.
5. Install the second compression ring, followed by the first: Install each ring correctly, ensuring that the two ends are aligned.
6. Ensure the rings move freely within their grooves: After installation, ensure the rings move freely within their grooves without excessive tightness or sticking. This ensures a tight seal and supports thermal expansion.
7. Ring Arrangement: The rings are arranged so that the holes in each ring (the ring bore) are spaced at angles (usually 120 to 180 degrees) to reduce gas and oil leakage through the holes, which increases the seal inside the cylinder.

